Getting your iPhone screen repaired can be a big relief, especially after experiencing the frustration of a cracked or malfunctioning screen. However, it’s essential to test your iPhone after the repair to ensure that it’s working perfectly and the repair was done properly. This step is crucial to avoid any problems in the future and ensure that your device is back to its full functionality. If you also own a Samsung phone, consider looking into a samsung screen repair service for any issues with that device as well. Here’s how to test your iPhone after a screen repair in a simple and systematic way.
Inspect the Screen for Physical Issues
 Start by doing a visual inspection of the repaired screen. Look closely to see if the screen is aligned with the phone’s frame. Check for any gaps, bubbles, or irregularities where the screen meets the phone. Also, examine the screen for any scratches, cracks, or discoloration. If you notice any physical flaws, it’s essential to contact the repair service right away.
Test the Touchscreen Responsiveness
After a screen repair, you need to ensure that the touchscreen works as it should. Test the touch functionality by swiping across the screen in different directions and tapping on various icons and apps. Also, try typing on the keyboard and see if the screen responds smoothly to each keystroke. If the touchscreen seems unresponsive or laggy, it could indicate an issue with the repair.
Check the Display Quality
The quality of the display is one of the most important factors when testing your iPhone. To check the display quality, adjust the brightness and observe whether the screen dims and brightens evenly. Look at photos, videos, or vibrant content to ensure the colors appear accurate and vivid. Also, carefully check the screen for any dead pixels or areas that appear discolored, which could be a sign of a problem.

Test the Front Camera and Sensors
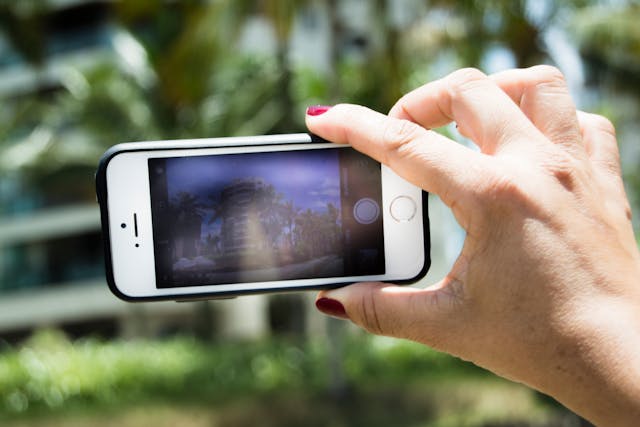
Your iPhone’s front-facing camera and sensors should be fully functional after a screen repair. Test the front camera by taking a selfie and making sure the image quality is clear. Also, a call test will be performed to check if the proximity sensor works properly. This sensor should dim the screen when you bring the phone close to your ear. Additionally, test the ambient light sensor by observing whether the brightness adjusts correctly in different lighting conditions.
Test the Home Button and Face ID
If your iPhone has a physical home button or uses Face ID for authentication, these features need to be checked after the repair. For devices with a home button, press it a few times to check if it’s responsive and if Touch ID works as expected. If your iPhone uses Face ID, try setting it up again and test the functionality by locking and unlocking your phone using facial recognition.

Test the Audio and Speakers
Audio functionality is another critical area to test after a screen repair. Play music or a video, and make sure the sound comes through clearly from the speaker. Next, make a phone call and check if the earpiece works properly, ensuring that you can hear the other person without distortion. Also, use the microphone to record a voice memo or make a call to verify the sound quality on your end.
In Conclusion
Testing your iPhone after a screen repair is a simple but necessary step to ensure that your device is functioning correctly. By performing these checks, you can catch any potential issues early and address them with the repair service provider. If everything works as expected, you can enjoy your iPhone without any concerns. If any issues arise, don’t hesitate to reach out to the repair service for assistance or to use any warranty provided.

